Write Up for Malware Analysis CTF created by @Bowflexin91 & @HBRH_314
Register here: https://t.co/NT6T6u1x93
Calling Collect
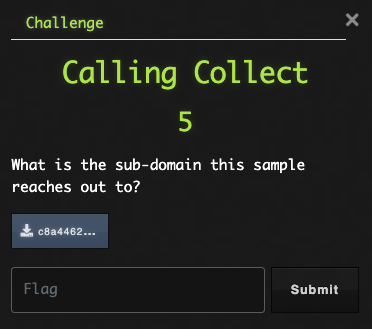
Alrighty then, first things first. Let’s go look the hash up on VT and see what OSINT we can find. We can check the Community tab for any sandbox reports to see if we can find our info.
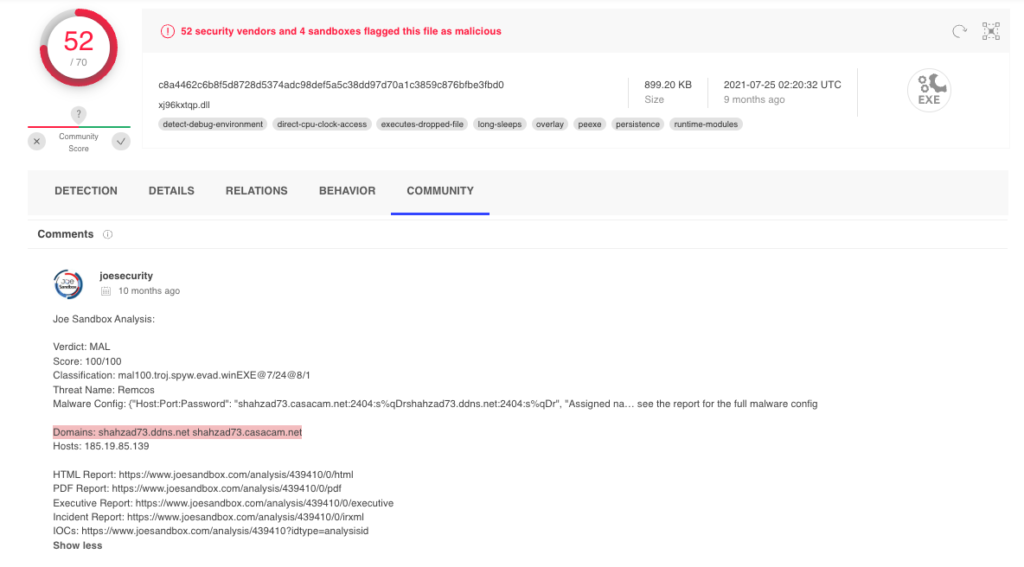
Flag: shahzad73
I Know Who You Are

The info we found on VT in the previous challenge will answer this as well.
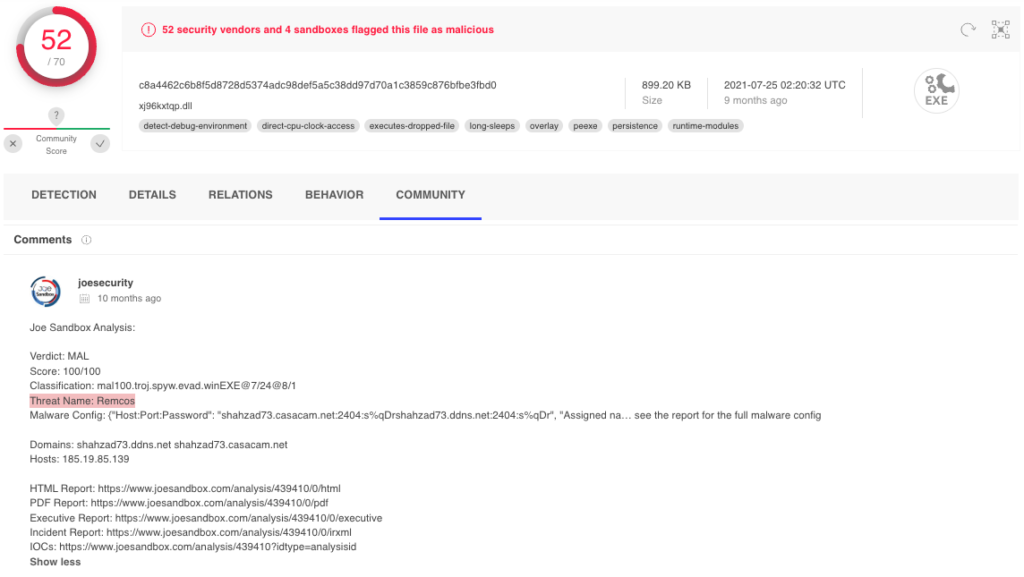
Flag: Remcos
Ope, I Dropped It
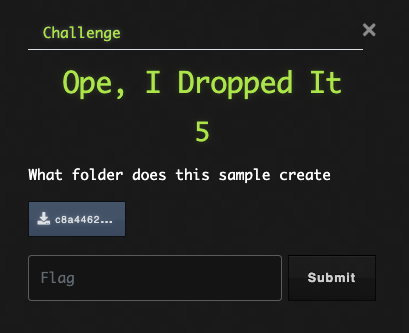
Looks like we will need to dig a little deeper into the behavior of this sample. Let us follow the link to Joe Sandbox and review the report. Under the Process Tree section, we can find the folder that contains the executed files.
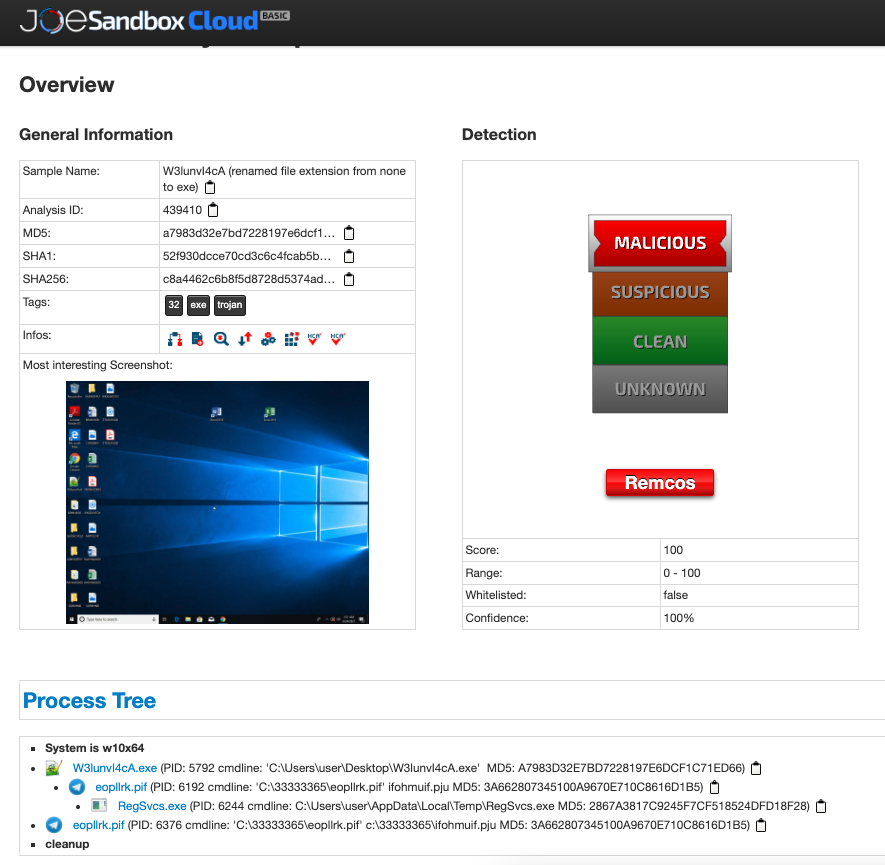
Flag: 33333365
Do Not Pass Go
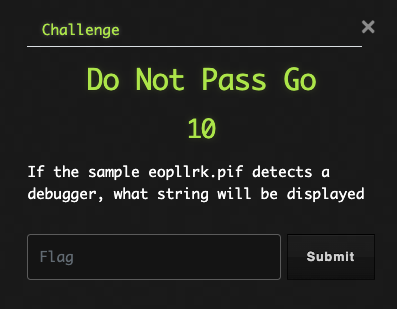
Based on the challenge question, it appears this sample uses some anti-analysis techniques. Let’s see what they have to say. We can achieve this in a couple of different ways.
First, we can open the file in a debugger and let it execute. We will need to disable ScyllaHide plugin before running the sample.
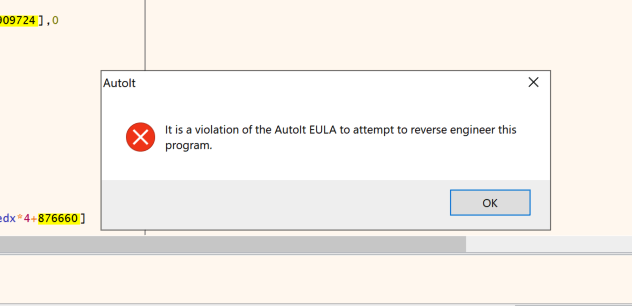
Alternatively, we can open the sample in the debugger and set a breakpoint for the IsDebuggerPresent function call. Next, make sure ScyllaHide is enabled and run the program until you hit the breakpoint. Use the step into menu option to follow the jump and then execute until return. After taking the return, follow the jump after test EAX and you should find the MessageBoxA function. The lpText parameter will contain our string.
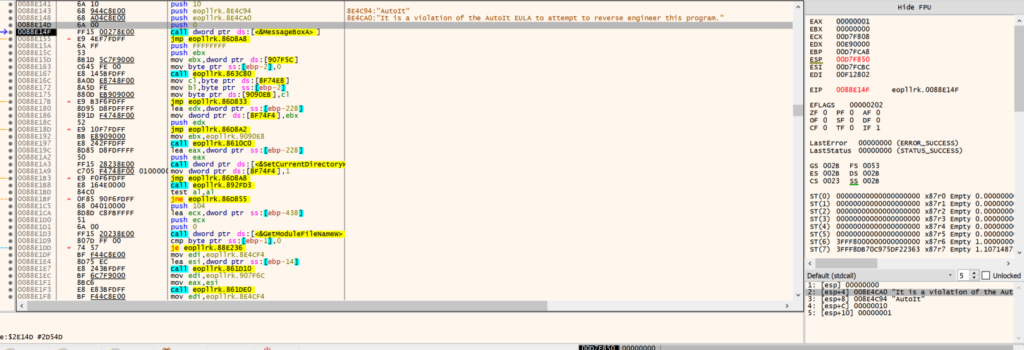
Flag: It is a violation of the AutoIt EULA to attempt to reverse engineer this program.
Things Are Getting Fuzzy
Well, before I tell you how to finish this challenge, perhaps we should go over ssdeep hashing. Here is the description from the ssdeep-project on github.ssdeep is a program for computing context triggered piecewise hashes (CTPH). Also called fuzzy hashes, CTPH can match inputs that have homologies. Such inputs have sequences of identical bytes in the same order, although bytes in between these sequences may be different in both content and length.
What the hell does that mean? In simpler terms, fuzzy hashing computes multiple hashes of a file and then we can compare that hash with other ssdeep hashes to locate shared/similar blocks of data scattered throughout the files. So, even if a file has been changed, ssdeep would be able to identify it as the same file when compared to the original because of the amount of identical data the files share.
With that out of the way, let’s proceed. Luckily, the Joe Sandbox report we have been using generates ssdeep hashes of the dropped files. So, we go the the entry for the dropped file and copy the hash.
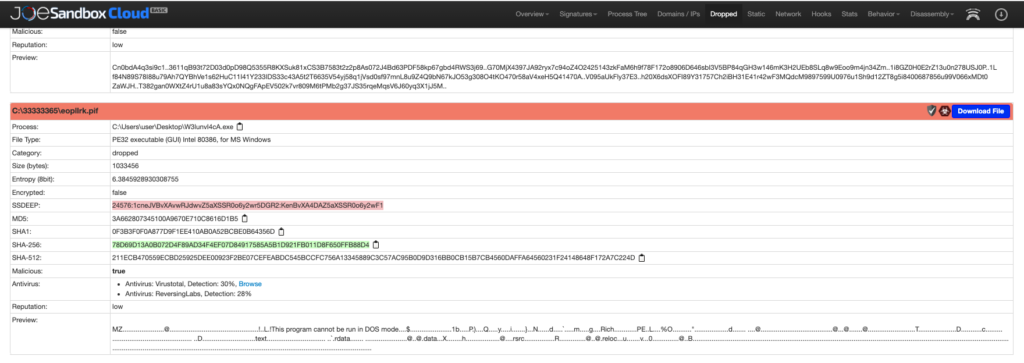
Flag: 24576:1cneJVBvXAvwRJdwvZ5aXSSR0o6y2wr5DGR2:KenBvXA4DAZ5aXSSR0o6y2wF1
I Will Find You
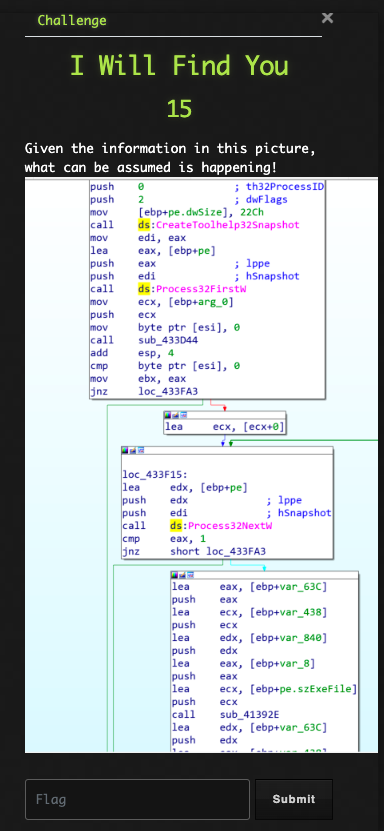
Alright. Well, let’s Google the functions CreateToolhelp32Snapshot, Process32FirstW, and Process32NextW that we can see in the graph. My first task will be searching MSDN so we can find out what these do. Based on the documentation, this will create a list of running processes and then step through them one at a time. That sounds familiar, doesn’t it?
Flag: process enumeration
Needle and Thread
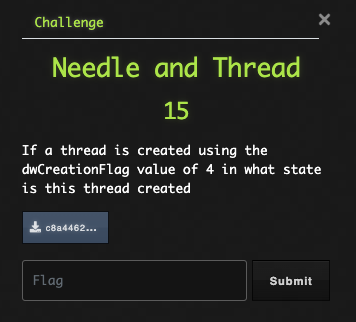
Again, we will search for an MSDN article that contains dwCreationFlag keyword. Below is the section from the article we need.

Flag: CREATE_SUSPENDED
Run!
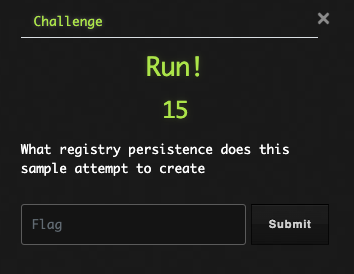
Back to the Joe Sandbox detonation. Let’s look for any registry activities and take note of the name.

Flag: WindowsUpdate
iSpy
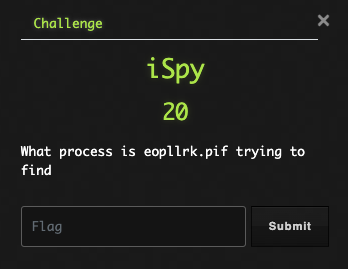
So, based on the Joe Sandbox detonation, the process injects into RegSvcs.exe. Hmm, that might be a clue.

Flag: regsvcs.exe
That Will Buff Out
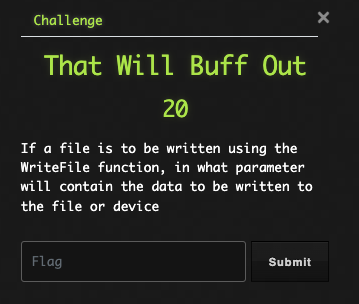
OK, back to searching MSDN for API function information.
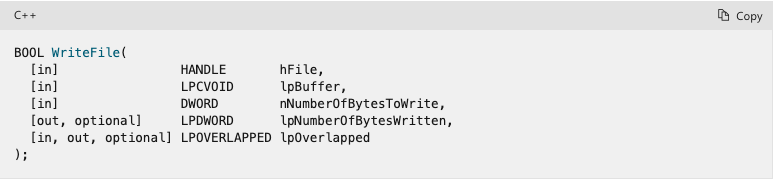

Flag: lpBuffer
Ones & Zeroes
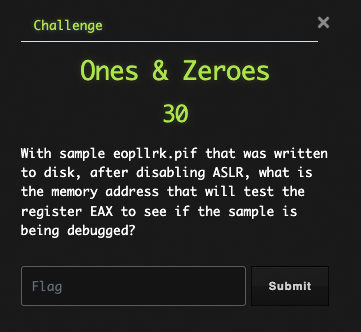
We learned about ASLR in a previous challenge, so we at least have an idea of what that is. After digging around the interwebs, I located a tool created by Didier Stevens (this guy is a freaking wizard) called SetDllCharacteristics.
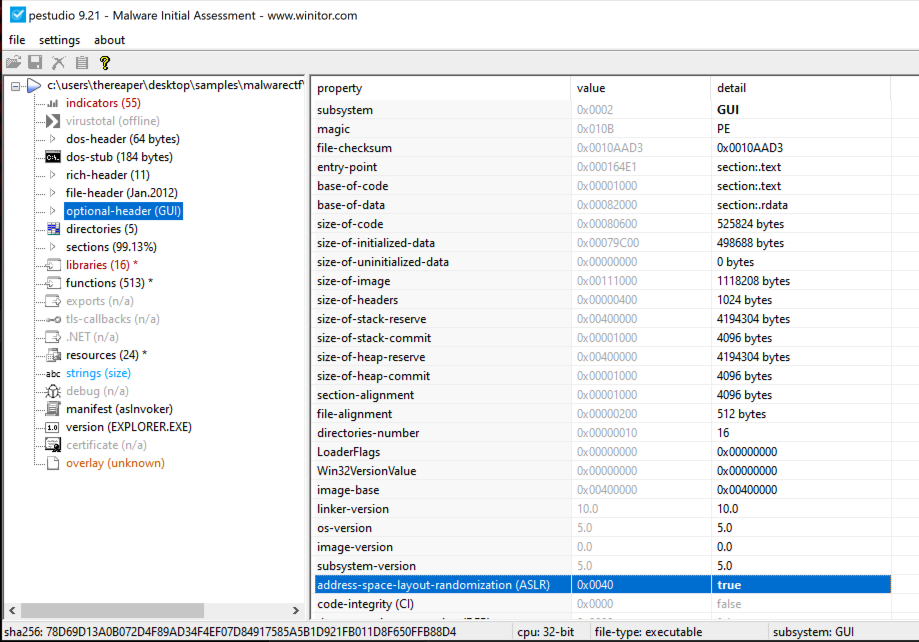
>setdllcharacteristics.exe -d eopllrk.exe
Original DLLCHARACTERISTICS = 0x8040
 DYNAMIC_BASE    = 1
 NX_COMPAT       = 0
 FORCE_INTEGRITY = 0
Updated  DLLCHARACTERISTICS = 0x8000
 DYNAMIC_BASE    = 0
 NX_COMPAT       = 0
 FORCE_INTEGRITY = 0
After removing ASLR, we can open the file in x32dbg, hit CTRL+G to search for IsDebuggerPresent, and set a breakpoint. We run the program until the breakpoint, step into the call, execute until return, and then, follow the return to the final test EAX command. Now, we copy the address of this command.
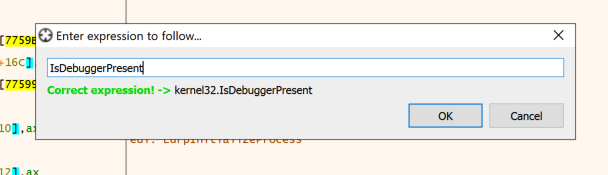
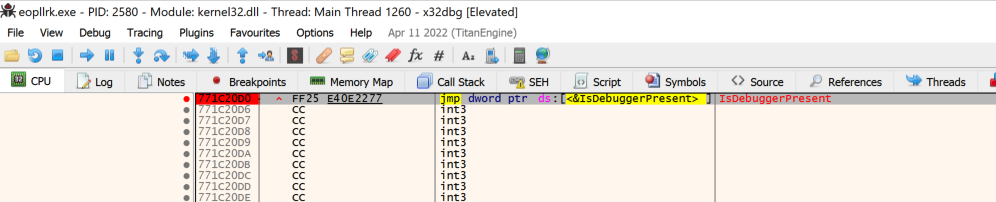
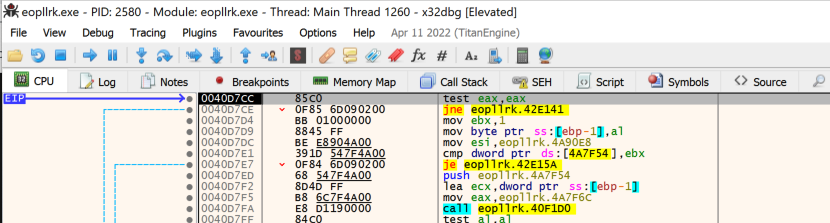
Flag: 0040D7CC
Finger Print
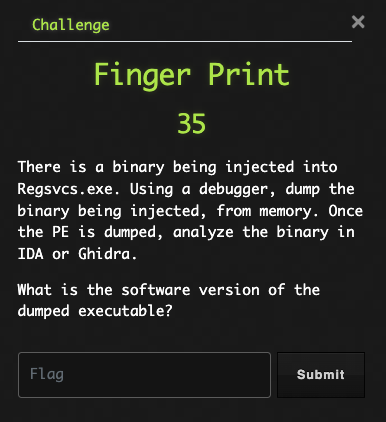
This one seems a bit more involved. However, we have already done a very similar challenge in Lab 03 I’m Still Unpacking. Since you’ve made it this far, I will not include images for every step and invite you to review the previous lab challenge.
Here is the steps to complete this challenge:
- First, we need to execute the original sample to get the dropped file.
- Next, change the extension from
piftoexewhich will need to be done on Linux or Mac or via WSL or Cygwin on windows. - Now, we will open the file in x32 debug and change the
commandlineto add the parameter we observed in the sandbox detonation. There is a menu option in x32dbg for this. - Then, create breakpoints for
WriteProcessMemoryandResumeThread. - Run the program until the we hit the
WriteProcessMemorybreakpoint. Find the 3rd item on the stack, which is the lpbuffer. - Right click and choose Follow Register in Dump.
- Right click dump and choose Follow in Memory Map
- In Memory Map tab, right click and choose Dump Memory to File and save the memory dump.
- Next, open the saved file in a hex editor and remove any bytes before the MZ header.
- Finally, we can open the file in Ghidra and review the strings to find the software version information.
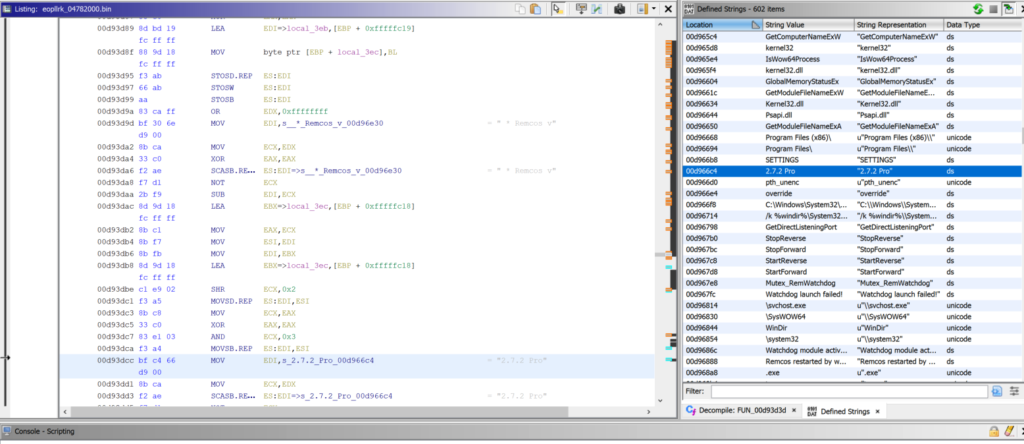
Flag: 2.7.2 Pro